Add photos to Google My Business: file specs, steps and approval
Add photos to Google My Business through Photos on Search or Maps; JPG or PNG files of 10 KB to 5 MB go live in 24 to 48 hours.

You add photos to a Google My Business listing from the profile itself, using the Photos control on Google Search or in the Google Maps app, signed in as the owner. There is no separate upload site to find.
Short answer: open your verified Business Profile on Google Search or in the Google Maps app, choose Photos, then choose Add photos. The catch: the file must be a JPG or PNG between 10 KB and 5 MB, and it can take 24 to 48 hours before it shows on the profile.
What follows covers the desktop path, the phone path, the separate logo and cover controls, the three upload statuses, and the photos your customers add without asking you.
Who is actually allowed to add photos to the listing
Two groups can put images on a Business Profile, and only one of them is you.
Owners upload through the profile's own controls after verification. Google's Business Profile documentation states that if you verify a Business Profile, you can make changes to it on Google Maps and Search, and photo uploads sit inside that permission.
Customers upload too. Google's photo and video management documentation describes photo updates from customers alongside your own media, and describes the option to request to remove customer added photos.
That second group is the reason a listing can look wrong even when you never touched it. Somebody photographed the queue at the worst possible hour, and now that image is part of how the business reads on Maps.
Your practical lever is volume and quality rather than control. A profile with a strong owner set gives Google better material to choose from.
It also changes what a visitor sees first. When the owner uploads nothing, customer photos are the only images available, and the earliest ones tend to stick around longest.
Treat the first upload session as a correction, then. You are not decorating a page, you are replacing whatever strangers happened to photograph with something that represents the business accurately.
The file specs Google enforces on every upload
Most failed uploads are not policy problems. They are file problems, and Google publishes the numbers.
Google's photo requirements documentation lists these for images:
- Format: JPG or PNG.
- File size: between 10 KB and 5 MB.
- Recommended resolution: 720 px tall by 720 px wide.
- Minimum resolution: 250 px tall by 250 px wide.
Note both ends of that size range. A file under 10 KB is too compressed to accept, and a file over 5 MB is rejected for being too large.
That is the trap in the common advice to always upload the biggest version you have.
Video has its own set: up to 30 seconds long, up to 75 MB, and a resolution of 720p or higher.
Google also asks for images that are in focus and well lit, with no significant alterations or excessive use of filters, and it says plainly that the image should represent reality.
Adding photos on a desktop, step by step
The desktop route starts in search results, not in a dashboard.
- Open Google Search or Google Maps in a browser, signed in to the owning account.
- Search your business name together with its city so the profile loads with owner controls.
- Click Photos.
- Click Add photos.
- Choose the files and confirm.
Google documents the same path: on your computer, open Google Search or Maps, search for your business's name and city, then click Photos and Add photos to add a photo or video.
Prepare the files first:
- Crop to a square.
- Export as JPG at a sensible quality setting.
- Check the resulting file size before you open the picker.
The upload screen will not resize anything for you.
Adding photos from your phone while the day is happening
The Google Maps app is where most business photos should come from, simply because that is where the camera is.
- Open the Google Maps app.
- Tap Business at the bottom right.
- Tap More, then Add photo.
- Select the photo or video, then tap Done.
- Tap Post on Android, or Publish on iPhone and iPad.
The final button label is the one difference between the two operating systems, and it is worth knowing before you follow a walkthrough written for the other one.
There is a workflow argument here too. A photo taken at 2pm on a normal Tuesday, uploaded in the same minute, shows a customer what the place looks like when they would actually turn up.
Which image belongs in which slot
Three upload types exist, and they answer three different questions.
Google documents three. A logo helps customers recognize the business on Google. A cover photo sits at the top of the profile and best represents the business. Business photos highlight features of the business to attract and inform customers.
Use this split when you are deciding what to upload:
- Logo: the mark people already associate with you, legible when rendered small.
- Cover: one image that answers "what kind of place is this" at a glance.
- Business photos: the exterior, the interior, the product, and the people.
The logo is where most small businesses lose quality without noticing. A detailed wordmark built for a website header collapses at profile size, which is the problem this set of logo tips for Google Business Profile works through in detail.
The cover photo carries a different risk. It is cropped by the layout rather than by you, so an image with its subject dead center often reads worse than one with breathing room.
What to photograph, angle by angle
A short shot list beats a long gallery, and four angles cover almost every local business.
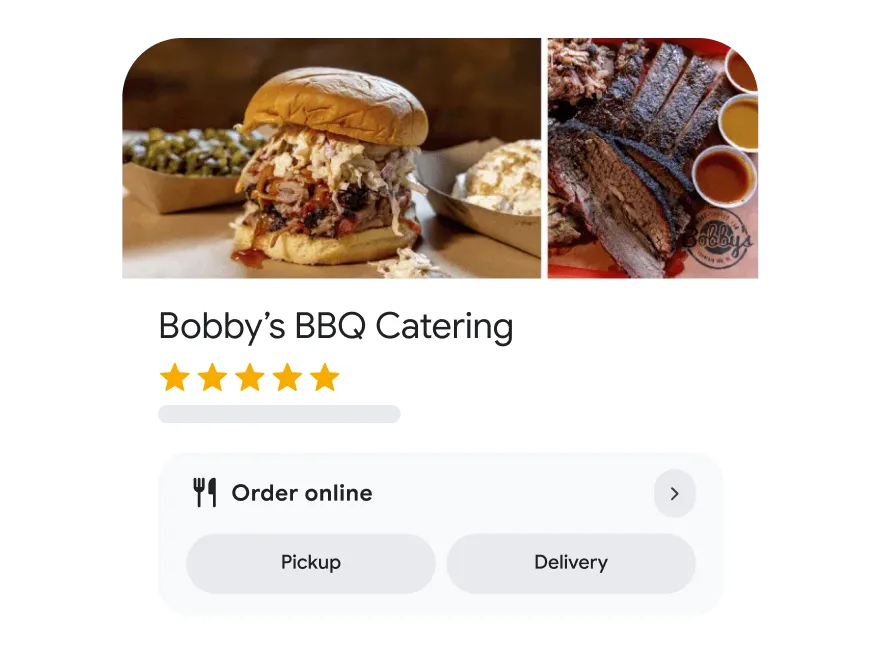
Start outside. The exterior from the pavement, taken at the distance a person would approach from, is the image that tells a stranger they have found the right door.
Then step in. One wide interior frame shot during normal trading hours shows the room honestly, including how busy it looks, which staged photos always flatter.
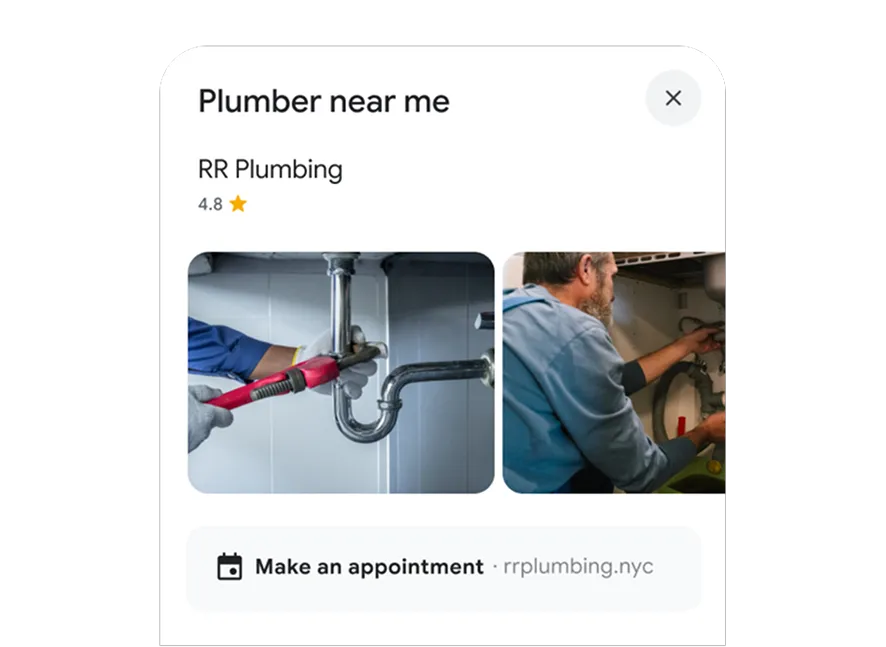
Next the work itself. For a shop that means product on the shelf rather than on a white background. For a service business it means the job in progress.
Last the people. A team photo with faces visible does something a logo cannot, because a customer choosing between two similar listings is looking for signs of a real operation.
Shoot all four in one pass with the same phone, in the same light, and the set reads as one business rather than as four unrelated uploads.
Pending, not approved and live: reading the upload status
Every upload gets a status, and reading it correctly saves an afternoon of re-uploading.
Google documents three statuses:
- Pending: media still in the upload or processing stage, which is not shown to customers yet.
- Not approved: media flagged for violating policies.
- Live: media showing on Search and Maps.
Processing takes up to 24 to 48 hours, which means an upload missing after ten minutes is not a failure.
Not approved is the status worth acting on.
The file passed its size check and the content did not, so the fix is a different image rather than the same image uploaded twice.
Deletion runs through the same view. Google documents opening the profile, selecting Photos, choosing the image, and using the delete control, with your own uploads removable directly and customer photos only removable by request.
When a photo should be replaced rather than added
Adding is easy, which is why most profiles end up with a gallery instead of an answer.
The test is simple. If an image no longer matches what a visitor will walk into, it is doing damage that an extra upload cannot repair.
Refits, new signage, seasonal layouts and menu changes all invalidate photos quietly. The image keeps performing, and it keeps setting an expectation the building no longer meets.
A photo pass twice a year is enough for most local businesses. Walk the space with a phone, shoot the same four angles, replace what has drifted, and leave the rest alone.
That discipline sits inside the wider habit of keeping a local listing current, as maintenance rather than a launch task.
What photos cannot do on their own
Photos settle the "what does this place look like" question, and that is the end of their job.
The two things a local searcher weighs next are what other people said and whether the business seems awake.
Reviews answer the first, and a profile that publishes something occasionally answers the second.
Asking properly is most of the review problem.
Keeping the profile publishing is the part that turns into a calendar problem. Owners usually reach that point a few weeks in, once the photo set is done and the profile has nothing new to show.
Rebuilding a post by hand every week gets old fast.
Neither of those replaces a good photo set. They decide what happens after a searcher has already looked at it.
The order matters, though. Photos first, because they are what a searcher looks at before anything you publish later.
Frequently asked photo questions from local business owners
Do I need to verify my business before I can add photos?
Yes. Google ties profile edits to verification, stating that a verified Business Profile is what lets you make changes on Google Maps and Search, and photo uploads are one of those changes.
What size should a Google My Business photo be?
Aim for 720 px by 720 px, keep the file between 10 KB and 5 MB, and stay above the 250 px by 250 px minimum. JPG and PNG are the accepted formats.
How long does it take for a photo to appear?
Up to 24 to 48 hours, according to Google's documentation. Before that point the upload usually reads as Pending, which is processing rather than rejection.
Can I stop customers from posting photos of my business?
No. Customer photos are part of the profile by design, and the documented route is a request to remove specific images rather than a setting that switches contributions off.
The photo that does the most work is the one you nearly did not take
A local profile does not need a portfolio. It needs a handful of accurate images, sized inside Google's limits, replaced when the place changes.
The exterior shot taken from the pavement, on an ordinary phone, at the hour customers actually arrive, does more than any staged set ever will.
Take that one, upload it, and check back in two days that it reads as Live.